我這里使用的是centos 7 64bit系統(tǒng),我試過centos 64bit系統(tǒng)也是可以的
1. 安裝依賴軟件
yum -y install policycoreutils openssh-server openssh-clients postfix
2.設(shè)置postfix開機自啟,并啟動��,postfix支持gitlab發(fā)信功能
systemctl enable postfix && systemctl start postfix
3.下載gitlab安裝包��,然后安裝
centos 6系統(tǒng)的下載地址:https://mirrors.tuna.tsinghua.edu.cn/gitlab-ce/yum/el6
centos 7系統(tǒng)的下載地址:https://mirrors.tuna.tsinghua.edu.cn/gitlab-ce/yum/el7
我的是centos7,所以我在https://mirrors.tuna.tsinghua.edu.cn/gitlab-ce/yum/el7中找了個gitlab8.0.0版本,建議下載一個比較新的版本,我這里選了一個比較舊的版本僅僅是實驗記錄���。
下載rpm包并安裝:
wget https://mirrors.tuna.tsinghua.edu.cn/gitlab-ce/yum/el7/gitlab-ce-8.0.0-ce.0.el7.x86_64.rpm
rpm -i gitlab-ce-8.0.0-ce.0.el7.x86_64.rpm
4.修改gitlab配置文件指定服務器ip和自定義端口
vim /etc/gitlab/gitlab.rb

退出并保存
ps:注意這里設(shè)置的端口不能被占用��,默認是8080端口���,如果8080已經(jīng)使用,請自定義其它端口����,并在防火墻設(shè)置開放相對應得端口�。
5.重置并啟動GitLab
執(zhí)行以下命令
gitlab-ctl reconfigure
gitlab-ctl restart
ok: run: gitlab-git-http-server: (pid 3922) 1s
ok: run: logrotate: (pid 3929) 0s
ok: run: nginx: (pid 3936) 1s
ok: run: postgresql: (pid 3941) 0s
ok: run: redis: (pid 3950) 0s
ok: run: sidekiq: (pid 3955) 0s
ok: run: unicorn: (pid 3961) 1s
提示“ok: run:”表示啟動成功。
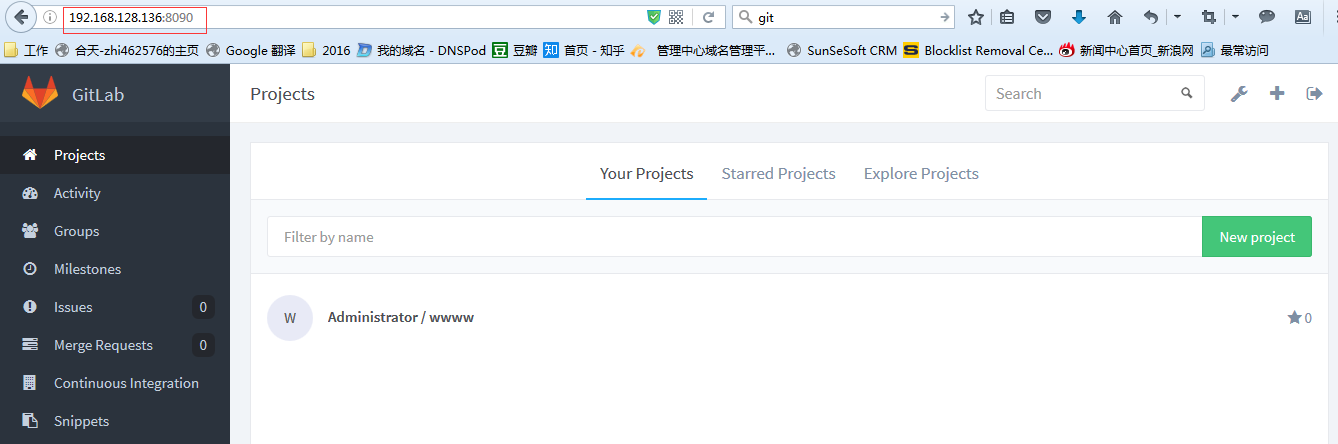
6.訪問 GitLab頁面
如果沒有域名��,直接輸入服務器ip和指定端口進行訪問����,初始賬戶: root 密碼: 5iveL!fe
第一次登錄修改密碼
7.設(shè)置gitlab發(fā)信功能,需要注意一點
發(fā)信系統(tǒng)用的默認的postfix���,smtp是默認開啟的����,兩個都啟用了,兩個都不會工作��。
我這里設(shè)置關(guān)閉smtp�����,開啟postfix
關(guān)閉smtp方法:vim /etc/gitlab/gitlab.rb
找到#gitlab_rails['smtp_enable'] = true 改為 gitlab_rails['smtp_enable'] = false
修改后執(zhí)行gitlab-ctl reconfigure
另一種是關(guān)閉postfix�����,設(shè)置開啟smtp�����,相關(guān)教程請參考官網(wǎng)https://doc.gitlab.cc/omnibus/settings/smtp.html
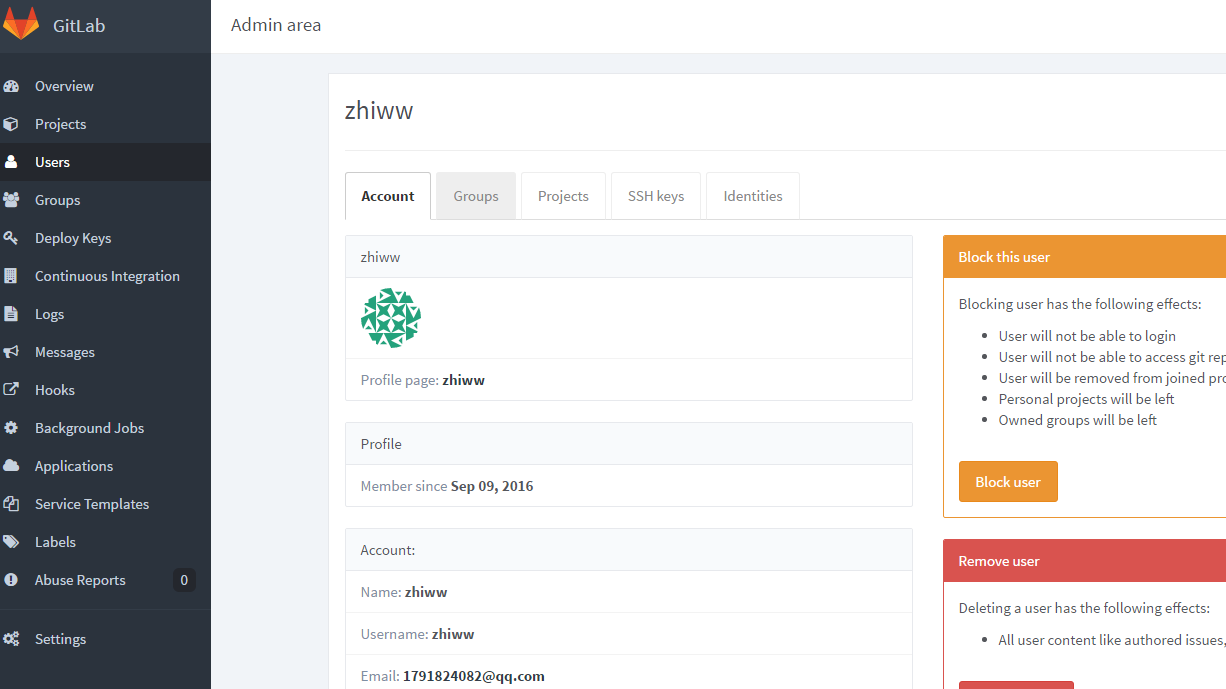
測試是否可以郵件通知:
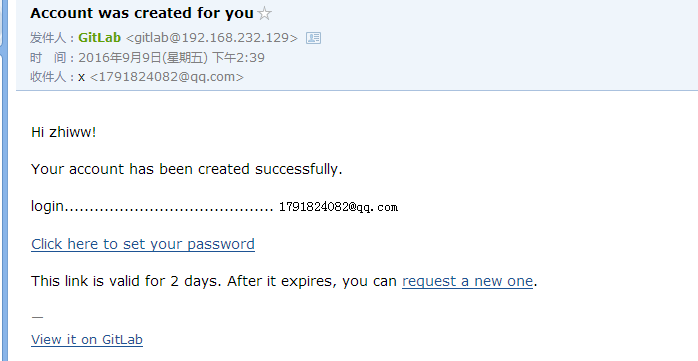
登錄并添加一個用戶�����,我這里使用qq郵箱添加一個用戶
登錄qq郵箱��,可以收到郵件通知(如果收不到����,請查看垃圾郵箱或者檢查郵件是否被攔截并刪除,如果有請?zhí)砑拥桨酌麊尾h除用戶再重新添加用戶就可以收到了���,否則請檢查郵件日志并做好相關(guān)設(shè)置)
故障處理記錄
(1)登錄502報錯
一般是權(quán)限問題,解決方法:chmod -R 755 /var/log/gitlab
如果還不行�����,請檢查你的內(nèi)存�����,安裝使用GitLab需要至少4GB可用內(nèi)存(RAM + Swap)! 由于操作系統(tǒng)和其他正在運行的應用也會使用內(nèi)存, 所以安裝GitLab前一定要注意當前服務器至少有4GB的可用內(nèi)存. 少于4GB內(nèi)存會出現(xiàn)各種詭異的問題, 而且在使用過程中也經(jīng)常會出現(xiàn)500錯誤.
(2)執(zhí)行g(shù)itlab-ctl reconfigure命令出現(xiàn)賬戶權(quán)限報錯
n itdb: could not obtain information about current user: Permission denied
Error executing action `run` on resource 'execute[/opt/gitlab/embedded/bin/initdb -D /var/opt/gitlab/postgresql/data -E UTF8]'
根據(jù)報錯信息大概鎖定用戶的權(quán)限問題,安裝gitlab-ce會自動添加用戶四個用戶:
gitlab-www:x:497:498::/var/opt/gitlab/nginx:/bin/false
git:x:496:497::/var/opt/gitlab:/bin/sh
gitlab-redis:x:495:496::/var/opt/gitlab/redis:/bin/nologin
gitlab-psql:x:494:495::/var/opt/gitlab/postgresql:/bin/sh
google和百度都搜索不到解決方法,既然出錯提示到權(quán)限問題��,那么按照賬戶權(quán)限這個方向去查就不會有問題���,后來查了文件/etc/passwd的權(quán)限是600,給予644權(quán)限后,成功解決報錯問題
到此這篇關(guān)于centos7安裝部署gitlab服務器的方法的文章就介紹到這了,更多相關(guān)centos7安裝gitlab服務器內(nèi)容請搜索腳本之家以前的文章或繼續(xù)瀏覽下面的相關(guān)文章希望大家以后多多支持腳本之家!