前面學習了�����,服務端驗證���,這篇文章中����,我們接著學習客戶端驗證���,客戶端的驗證����,使用Jquery和Jquery插件來實現(xiàn)【jquery.validate.min.js and jquery.validate.unobtrusive.min.js) 】
在服務端驗證中�,頁面必須要提交到服務器,進行驗證�����,如果數(shù)據(jù)驗證不通過��,服務器端就會發(fā)送一個響應到客戶端�����,然后客戶端根據(jù)相應的信息����,進行處理;而客戶端驗證則不同����,用戶輸入的數(shù)據(jù)�����,只要一提交��,客戶端就會進行先驗證�,如果不通過就報錯�,不會提交到服務器進行驗證,如果通過了�,才會把請求傳到服務器端。
如果你是使用VS2012以上的版本���,那么會自帶的啟用了客戶端驗證的:【當然你也可以手動添加下面的配置�����?����!?br />
 configuration>
 appSettings>
  add key="ClientValidationEnabled" value="true" />
  add key="UnobtrusiveJavaScriptEnabled" value="true" />
 /appSettings>
/configuration>
我們還是之前的項目:
using System;
using System.Collections.Generic;
using System.ComponentModel.DataAnnotations;
using System.Linq;
using System.Web;

namespace Server_Side_Validation_IN_MVC.Models
{
  public class StudentServer
  {
    [Required(ErrorMessage="Name為必填項")]
    public string Name { get; set; }

    [Required(ErrorMessage="電子郵件必須")]
    [EmailAddress(ErrorMessage="電子郵件格式不對")]
    public string Email { get; set; }
  }
}
public ActionResult SeverSideIndex()
{
return View();
}
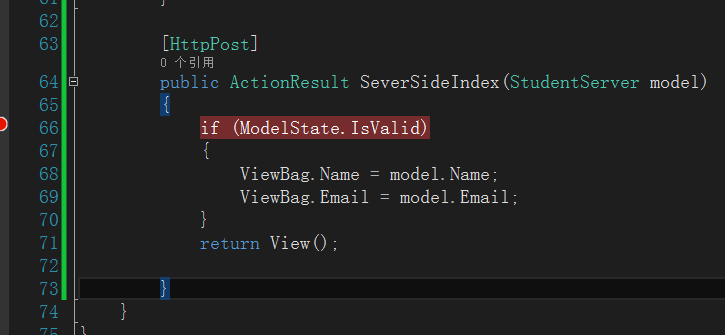
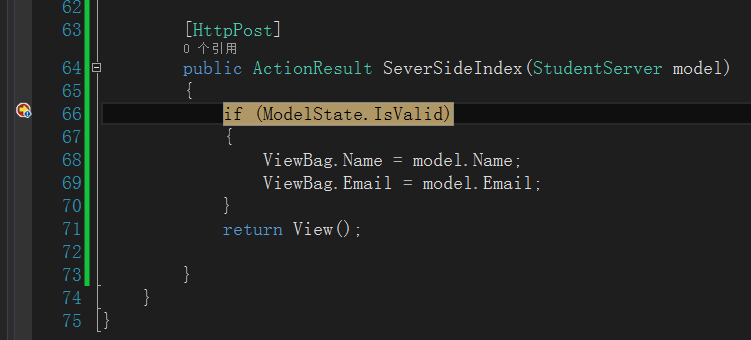
[HttpPost]
public ActionResult SeverSideIndex(StudentServer model)
{
if (ModelState.IsValid)
{
ViewBag.Name = model.Name;
ViewBag.Email = model.Email;
}
return View();
}
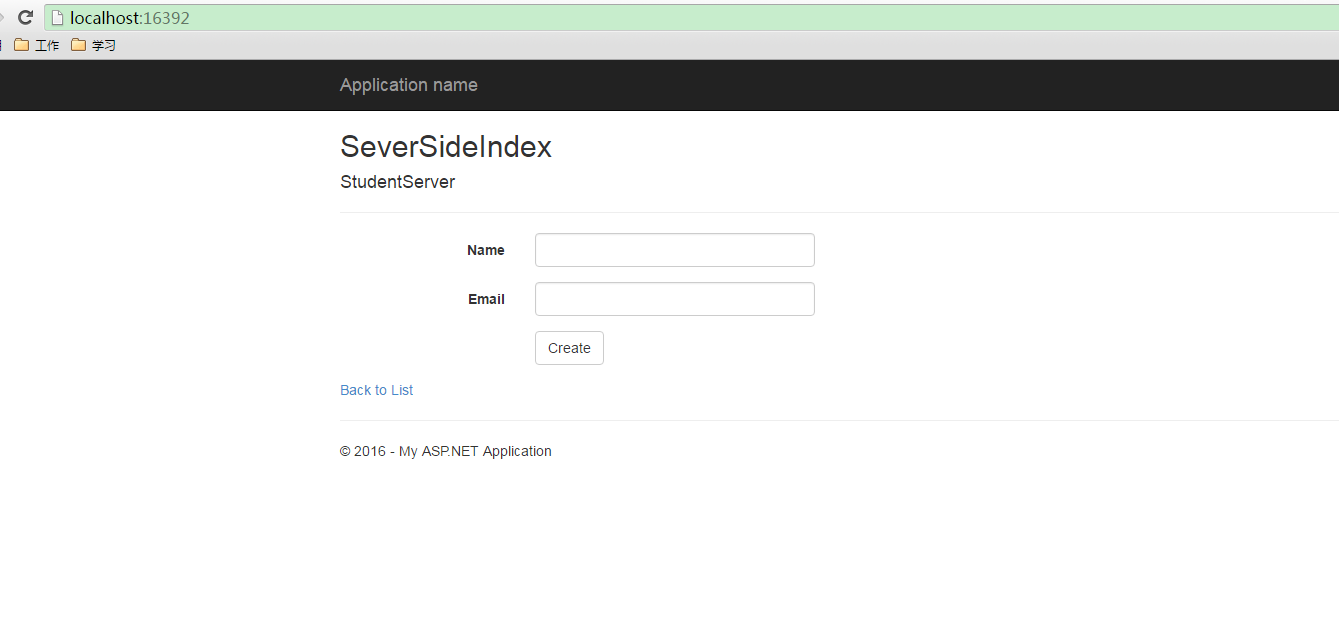
不同的是����,這里�,我添加視圖,不一樣:

注意這里一定要勾選引用腳本庫���,也就是引入Jquery和Jquery插件����,這樣才能進行客戶端驗證:
修改一下默認路由:
 public static void RegisterRoutes(RouteCollection routes)
    {
      routes.IgnoreRoute("{resource}.axd/{*pathInfo}");

      routes.MapRoute(
        name: "Default",
        url: "{controller}/{action}/{id}",
        defaults: new { controller = "Student", action = "SeverSideIndex", id = UrlParameter.Optional }
      );
    }
運行項目:
我們在控制器的POST方法中添加一個斷點
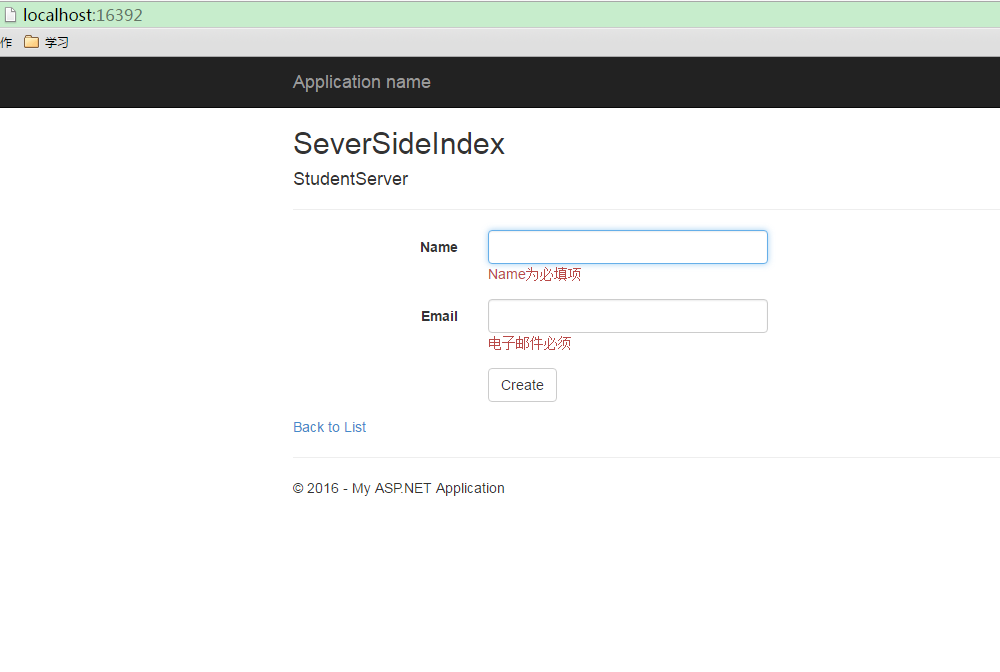
直接點擊按鈕:沒有調(diào)用POST方法���,直接在客戶端驗證了數(shù)據(jù)的合法性��。
輸入合法的數(shù)據(jù):
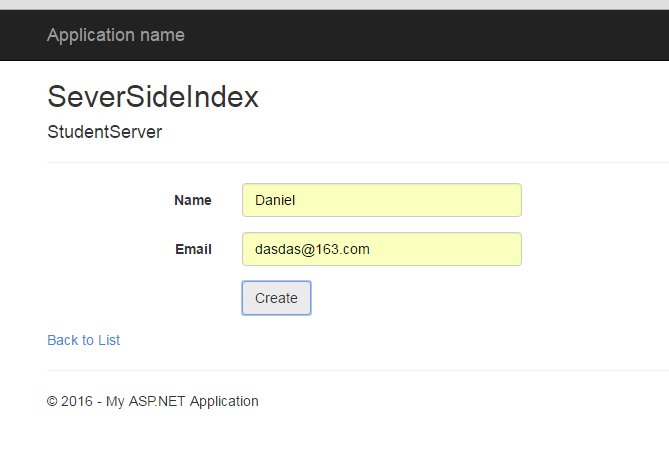
斷點觸發(fā)了�,也就是說�,在客戶端驗證通過之后,才會提交到服務器進行進一步處理�。
好了,這就是客戶端驗證�����,比較簡單�。但注意要引入Jquery插件
以上就是本文的全部內(nèi)容,希望對大家的學習有所幫助��,也希望大家多多支持腳本之家。
您可能感興趣的文章:- ASP.NET MVC5驗證系列之服務端驗證
- ASP.NET MVC5添加驗證(4)
- ASP.NET MVC5驗證系列之Remote Validation
- ASP.NET MVC 數(shù)據(jù)驗證及相關內(nèi)容
- ASP.NET全棧開發(fā)教程之在MVC中使用服務端驗證的方法